4
06.16.14

Ann’s Mint, Pink + Gold Bridal Shower Brunch…

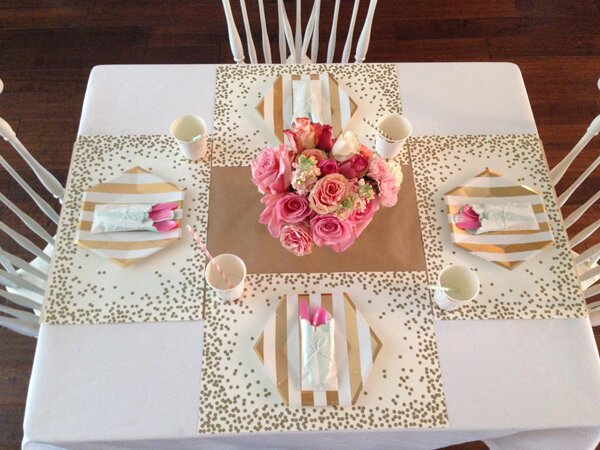
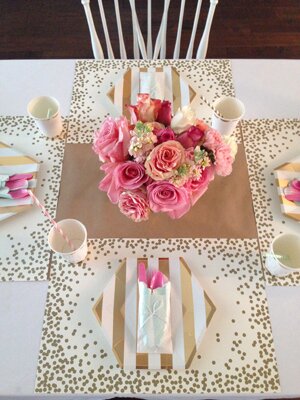
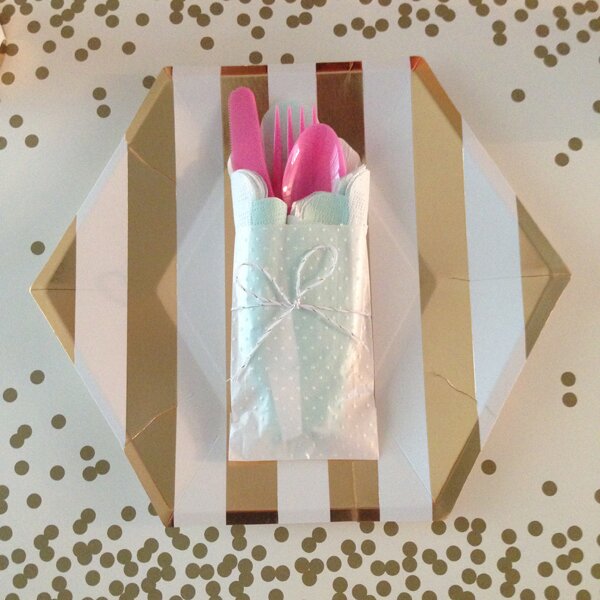
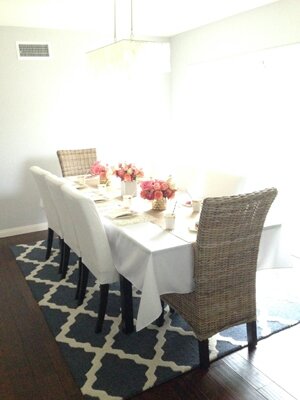
Remember last month when I posted about the incredibly awesome company Bloominous  and how I’d be using their new Party Pop collection for a bridal shower I was throwing soon? Well, today I am going to share that shower and those beautiful Bloominous blooms with you! As I’ve mentioned previously, one of my very best friends in the world, Ann, is getting married next month and I’m lucky enough to be her maid of honor. I was so, so, so excited to host Ann’s bridal shower at my house at the end of May along with her other lovely bridesmaids. I came up with a fun design based on her mint + gold wedding color scheme. I added in some pops of varying shades of pink, a little confetti, and voila!
Anns_Bridal_Shower_Brunch.01 Anns_Bridal_Shower_Brunch.02 Anns_Bridal_Shower_Brunch.03 Anns_Bridal_Shower_Brunch.04 Anns_Bridal_Shower_Brunch.06 Anns_Bridal_Shower_Brunch.07


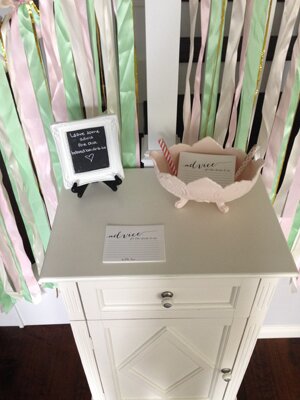
We had an “advice for the bride-to-be” station where the guests could leave their advice and wishes for Ann on cards that she could keep as mementos. For a fun activity that also served as guest favors, we had a custom DIY fragrance bar that was so much fun!


Anns_Bridal_Shower_Brunch.09 Anns_Bridal_Shower_Brunch.10 Anns_Bridal_Shower_Brunch.11 Anns_Bridal_Shower_Brunch.12 Anns_Bridal_Shower_Brunch.13 Anns_Bridal_Shower_Brunch.14Anns_Bridal_Shower_Brunch.15


We had a great brunch menu including a a bubbly bar with assorted juices and berries, a mini mason jar yogurt parfait station, salads, mini frittatas + more.  I also made some watermelon mint infused water that was seriously delicious and refreshing! It would be perfect for any upcoming party this summer.

Anns_Bridal_Shower_Brunch.16 Anns_Bridal_Shower_Brunch.18 Anns_Bridal_Shower_Brunch.20 Anns_Bridal_Shower_Brunch.21 Anns_Bridal_Shower_Brunch.22 Anns_Bridal_Shower_Brunch.23 Anns_Bridal_Shower_Brunch.25 Anns_Bridal_Shower_Brunch.26


Ann loves tropical flavors and macarons, so I combined those loves when choosing the desserts from the ever wonderful Sweet and Saucy Shop. We had a coconut passionfruit cake that was seriously to die for, and a selection of strawberry and pistachio macarons.

Anns_Bridal_Shower_Brunch.27 Anns_Bridal_Shower_Brunch.28


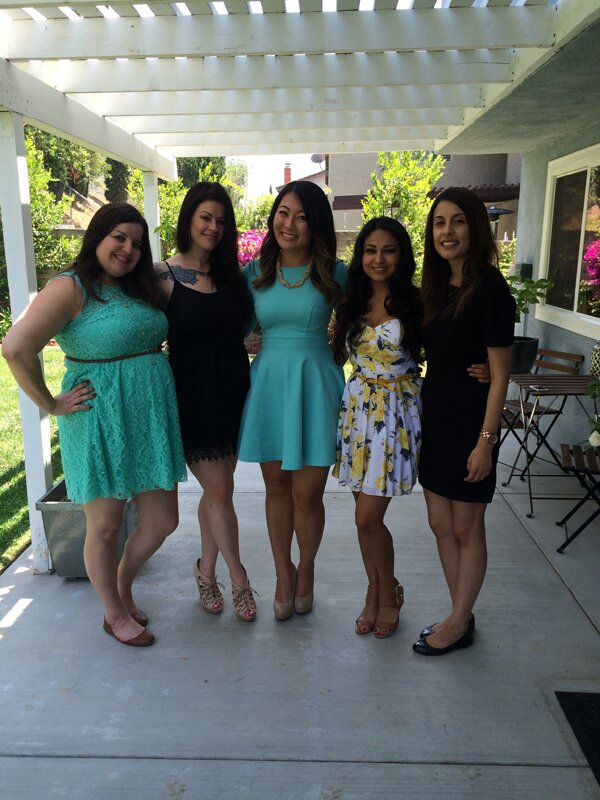
The beautiful bride-t0-be with her bridesmaids. We had such a good time showering and celebrating this babe!
Anns_Bridal_Shower_Brunch.29


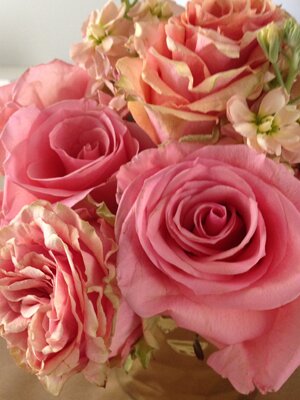
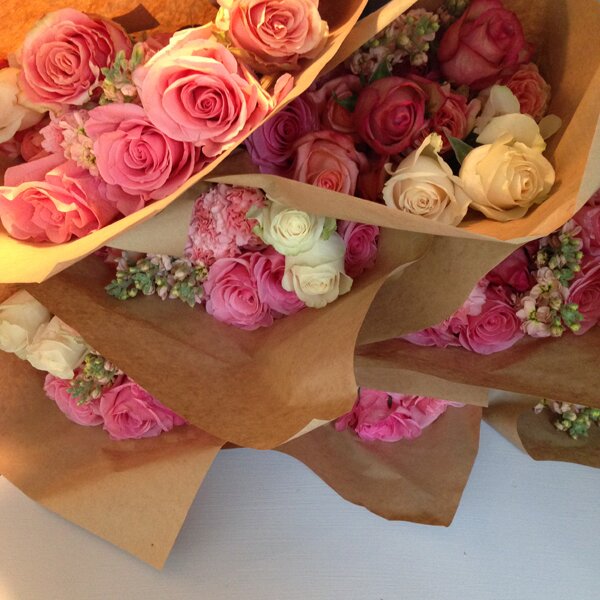
And lastly, one more big, huge thanks to Bloominous for the stunning flowers! They arrived quickly, packaged up with care, and included easy to follow directions. I put all the centerpieces together the day before the shower, which left me plenty of time to do the rest of the decorating, cooking and cleaning. I would highly recommend them to anyone looking to DIY flowers for their wedding, a shower, or any other occasion! They have multiple collections to choose from, so there is something to fit every aesthetic.


Anns_Bridal_Shower_Brunch.30


Now, the countdown to the wedding is on:)


1
05.12.14

Spotlight On: Bloominous…

Have you heard of Bloominous yet? If not, I know you’ll be seeing them popping up all over the place soon! Bloominous is an innovative new company that strives to finally make DIY flowers easy. They understand that DIY can be difficult, time-consuming, and risky.  If you’re a bride, those are probably the last three words you want to hear!  So they put a lot of thought into what it means to make DIY floral arrangements easy and affordable for you…the result is Bloominous.com, the one-stop shop solution to all your floral-woes! Bloominous packages together what you need- from florals to vases to instructions-  to create your own bouquets, centerpieces, and boutonnieres.


Bloominous1


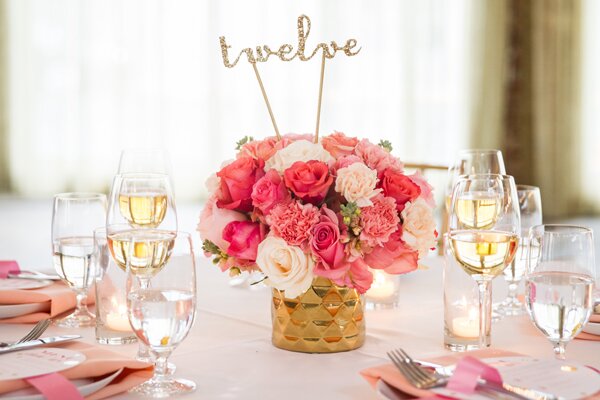
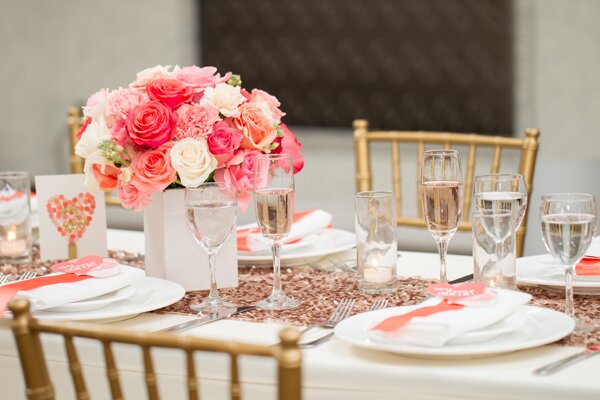
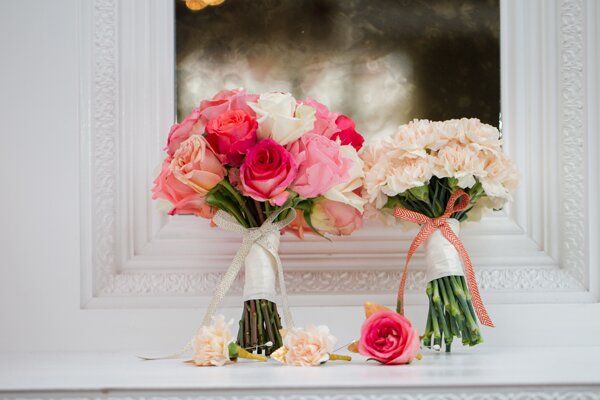
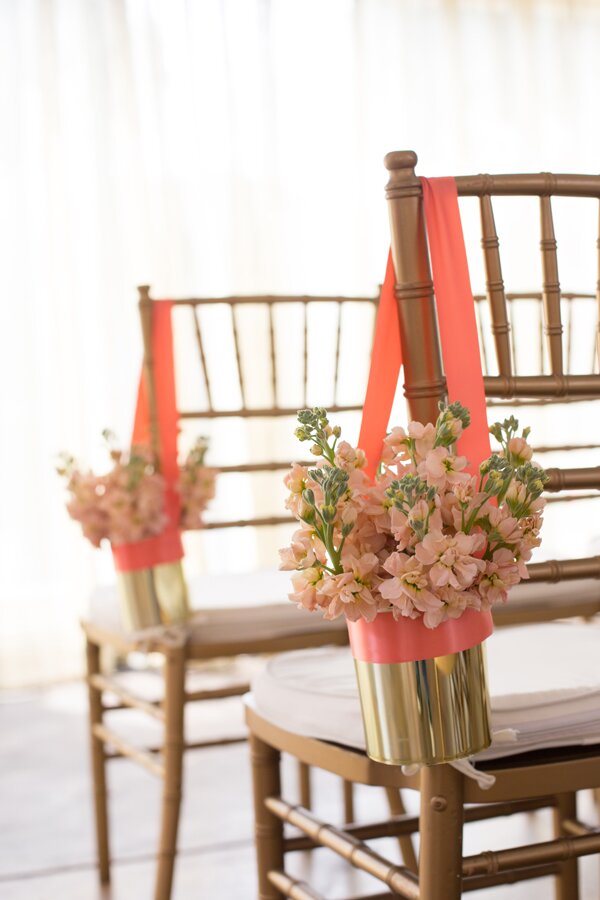
Bloominous offers several collections to choose from: Vintage Cottage Collection, Bohemian Desert Collection, Country Charm Collection and the Eco Chic Collection. See that gorgeous photo above ? It, along with all the other photos in this post are from the brand new coral + gold collection that will be debuting soon. I’m incredibly excited because I’ll be using the new coral + gold collection in a couple weeks to decorate a bridal shower I am throwing for my best friend!


Bloominous2


Here are some more key points about Bloominous + what makes the service they offer so unique:


- With Bloominous, brides will be able to save anywhere from 30% to 50% off their original floral budget (based on the average U.S. wedding budget) without the typical 300% markup from wedding florists.


- Most DIY floral services do not send ‘prepped’ flowers, but their flowers come cut-to-order, dethorned, and trimmed, so you can save time AND money.


- Each kit comes with step-by-step photo instructions for easy assembling within 10 to 20 minutes per piece, as well as flower care products, accessories, and design tips.


Bloominous4


- Bloominous offers trial kits so you can test their product out before you take the big plunge. Right now their trial kits are 30% off with free shipping using the code: TRIAL30.


-All collections are designed by the Bloominous in-house florist with 10+ years of experience in event and floral design.


-They feature specialty flowers that are hard to find, especially if you’re located in a city without a local flower market.


Bloominous3


- Bloominous doesn’t just provide flowers. They bring floral and wedding expertise to all through their blog, which focuses on saving money, planning, DIY, and ease.


- In addition to the designed collections, Bloominous will be adding a “Flower Market” concept to their offerings so DIY-ers can take customization into their own hands! Flowers from all over the world shipped straight to your doorstep. Those who want to create their own collections can purchase un-prepped flowers through the Bloominous Flower Mart, and those who want to add their own touches to the Bloominous collections can also buy extra flowers through the Bloominous Flower Mart.


- In the near future, they plans to become a creative community for floral designers, professionals and amateur alike, to have a chance to showcase their designs and sell their collections on Bloominous.


So, now you officially know about Bloominous if you didn’t already! Make sure to head on over to their website + blog to learn even more. Plus, check back here in the coming months to see their stunning flowers decorating the shower I am throwing:)


7
02.3.14

DIY: Petite Heart Garland…

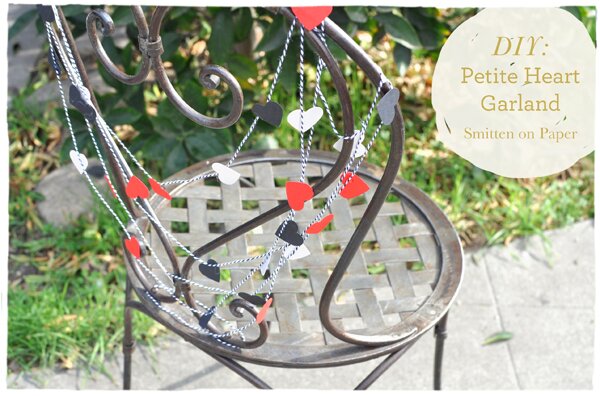
Looking for a super easy Valentine’s Day decoration that you can whip up with things you probably already have around the house? If so, you are in luck because today we have a sweet + petite DIY heart garland for you from Smitten on Paper!


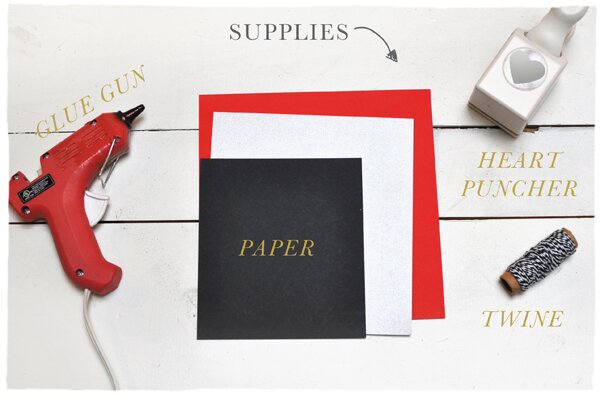
Petite Heart Garland-1


Supplies:


Twine

Cardstock Paper

Heart Hole Puncher

Glue Gun


Petite Heart Garland-2


Steps:


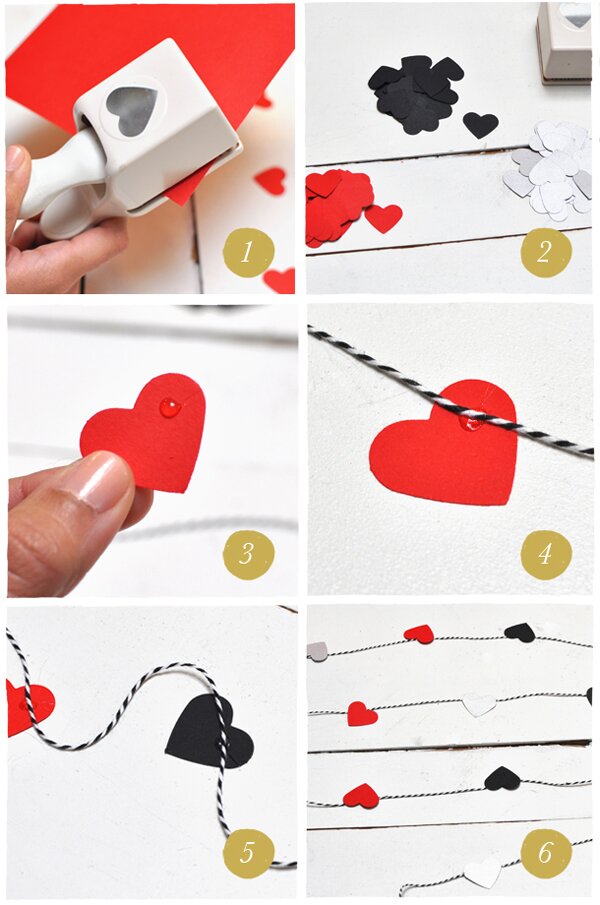
1. Using the heart hole puncher, hole punch your paper about 10-15 times.

2. After I’ve hold punched the red paper, I continue on hole punching the rest of my paper colors.

3. Taking the first hole punched heart, apply a dot of glue.


Petite Heart Garland-3


4. Adhere the heart to your twine. My twine measure about 150 inches, I wanted a long garland, but it all depends on your desire length.

5. Start adhering the rest of your hearts, making sure that they are about 2 inches apart.

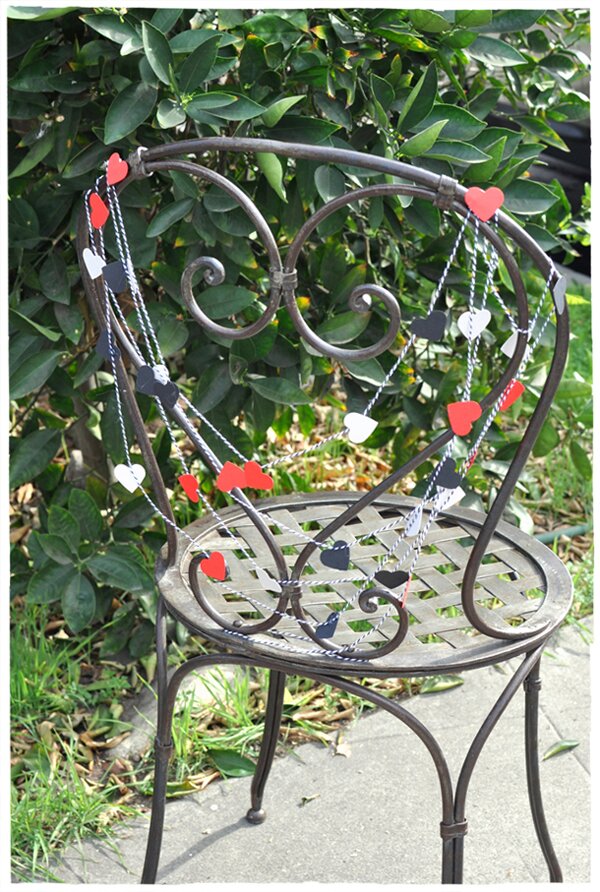
6. Tada! once you have applied all your hearts, your left with a romantic looking garland.


Petite Heart Garland-4


Smitten on Paper is running a promotion right now for 10% off your wedding invitation suite using the code ‘HOORAY10′!

1
01.14.14

DIY: Glitter Edge Coasters…

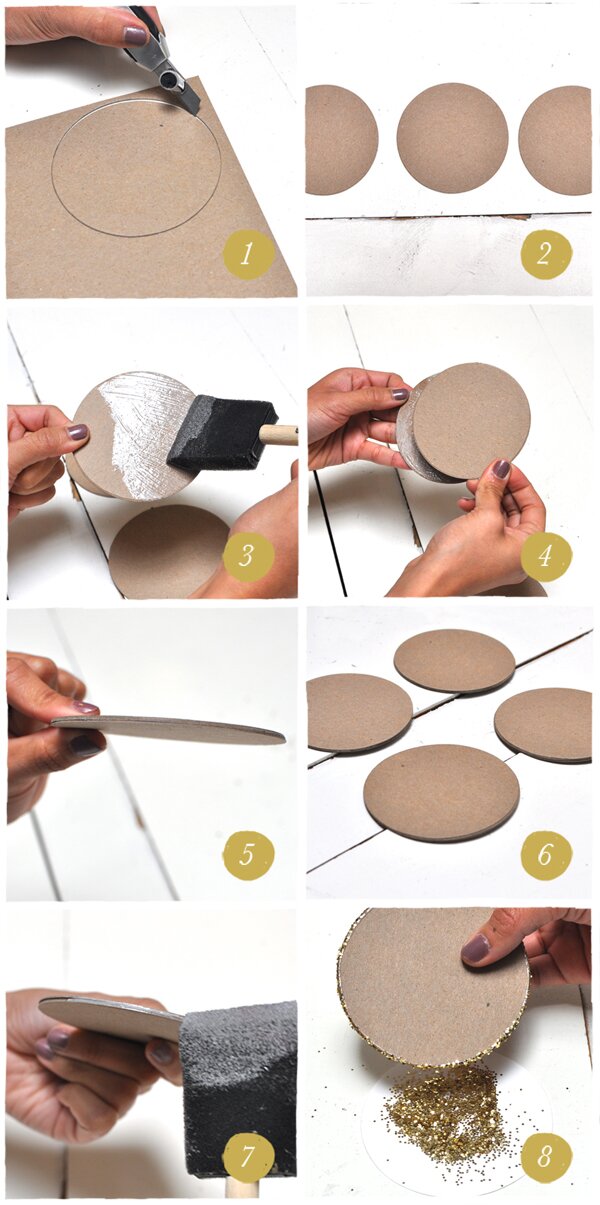
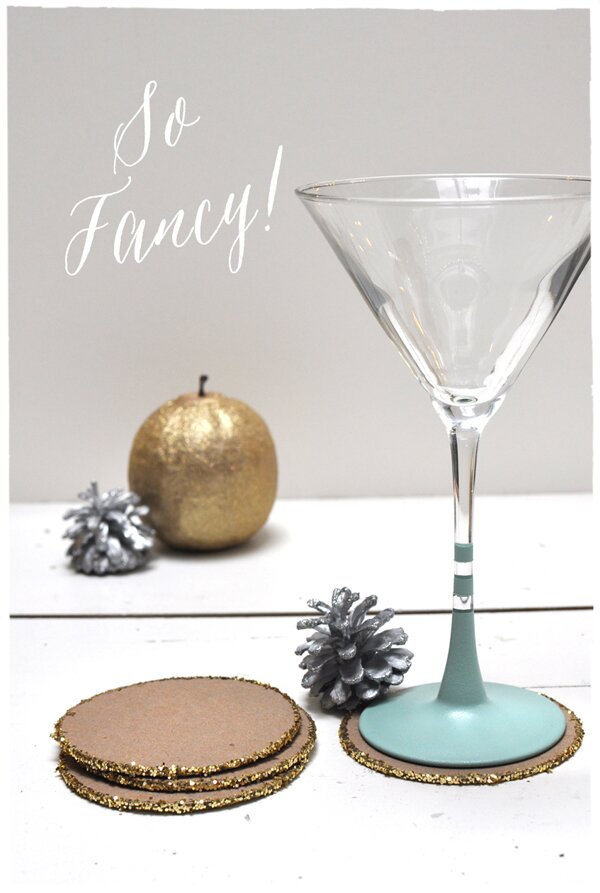
It’s a new year and I have a fun + festive new DIY from Smitten on Paper for you! These glitter edge coasters are quick and easy to whip up, and would be perfect for entertaining, favors, hostess gifts, or just to add a little sparkle around your own home!


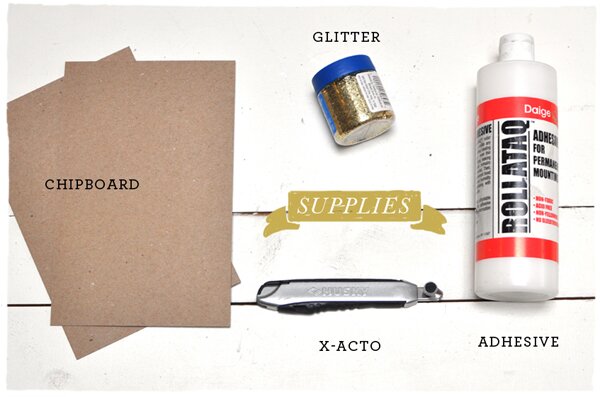
Supplies:


Chipboard

X-acto knife

Permanent Adhesive/glue

Glitter


Glitter Coaster-2


Instructions:


1. Neatly draw and cut a 3 inch circle from the chipboard.

2. Repeat step-1 three times, until you have 3 (3 in) circles.

3. To one side of one circle, apply adhesive.

4. Take another circle and stick the two circles together. Let dry.


Glitter Coaster-3


5. Repeat steps-3 through 4 until all three pieces of chipboard are stuck together, leaving you with a nice thick coaster!

6. Repeat steps 1-5 until you have 4 coasters or for as many coasters as you may like.

7. Once all your coasters are compact and dry, apply adhesive to the edge of all the coasters.

8. Now the glitter! Neatly roll the edge of your coaster into the glitter. Let dry overnight and you’re done. I decided to glitter my coaster edges, but if you wanted to fully cover your coaster, you most definitely can. Just apply adhesive to the whole top layer of your coaster and that’s it. Enjoy!


Glitter Coaster-4


Just a little heads up- Smitten on Paper is currently offering 10% off all their save the dates with the code ENGAGED10! Woo hoo!

3
12.16.13

DIY: Block Printed Wrapping Paper…

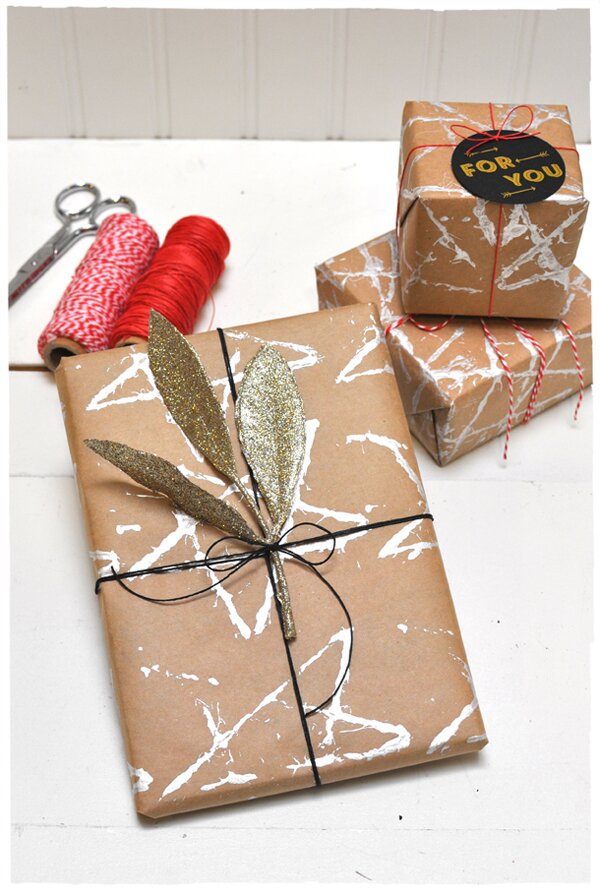
Christmas is next week- hooray!!! I don’t know about you, but I’m not even close to being ready. I still have tons of gifts to wrap, so I was super excited to see this month’s DIY from Smitten on Paper for us is block printed wrapping paper. Even better, all of the needed materials are probably already in your crafting stash!


Want extra special wrapping paper for that extra special person? This DIY is perfect for any crafty individual that wants their presents to stand out this holiday season. Sometimes it’s not so much whats inside the package, but the thoughtful details on the outside!


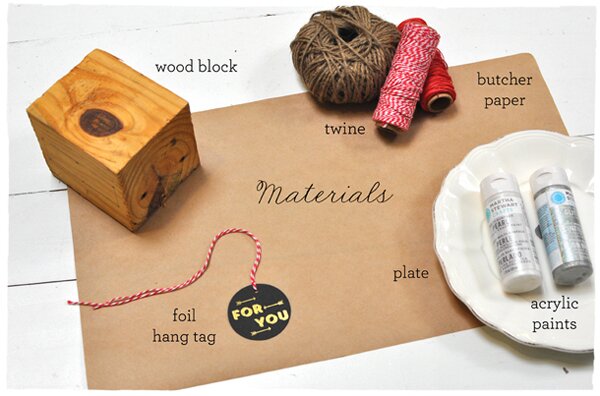
Materials:


Butcher paper

Wooden block

Foil hang tags

Twine or cording

Acrylic paint

Plate


2-materials


Steps:


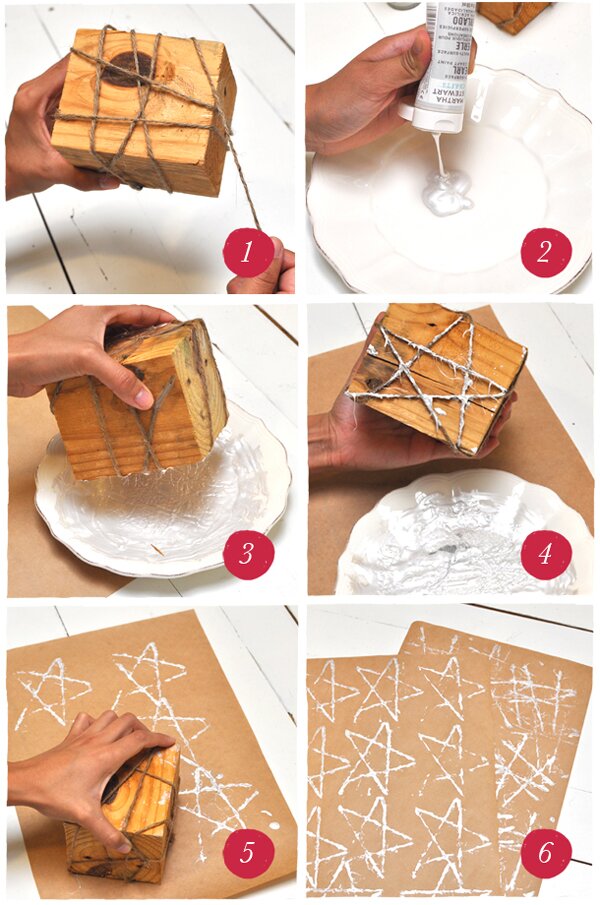
1. Wrap cording or twine around wooden block. You can make all sorts of fun geometric shapes.


2. Pour acrylic paint into a flat plate (we used pearlescent acrylic paint).


3. Dip wooden block into paint.


4. Make sure the twine or cording has enough covered area in paint.


5. Stamp away!


6. Voila! You end up with a mishmash of fun crazy shapes ready for wrapping.


3-WrappingPaperSteps


4-wrapping paper


Still need holiday cards? Smitten on Paper is offering 30% off on their holiday collection with the code FESTIVE30! Hey, New Years cards still count:) Plus, I think this block printed wrapping paper could make some pretty fancy envelope liners, dontcha’ think?

3
12.9.13

Boho Woodland Wedding Shoot…

I am loving the rich berry tones used throughout this boho woodland shoot sent over by Ashley Hoover + Nicole Kelley of Blue Birch Photography! Berry tones work year round, but I particularly adore them in winter weddings. Paired with the soft grey green of succulents or eucalyptus and crisp whites, they make the most beautiful palette!


Here is a bit more from Ashley about the shoot:


“We designed the shoot with a dreamy feel in mind. Our models, real-life couple Heather Jones and Kevin Kage, embodied our whole vibe. Heather, a glamorous fashion and entertainment writer, who’s very rocker chic, along with Kevin a mixed martial arts professional, were perfect muses. We styled the shoot ourselves in a wild, do-it-yourself craze. Nicole and I loved the idea of a naked cake in the forest decorated with succulents and berries. A majority of the accent pieces are antiques. The ring is my own, a smoky quarts designed by a silver-smith artist from Manitou Springs, Colo., which is where our invitation designer, Sixpence Paperhouse, also hails from. I came upon the location while hiking through a conservation area on Lake Alice in Gainesville, Fla., and fell in love. The cascading leaves and light were just enchanting.”


Vendors:

 
Photographer: Ashley Hoover 
Photographer: Nicole Kelley of Blue Birch Photography
Hair + Makeup: Ashleigh Marie Allen
Models: Heather Jones and Kevin Kage
Florist: Valerie Raymo Kelley Bold Blooms 
Invitations: Sixpence Paperhouse
Dress: Lulu’s

5
11.19.13

DIY: Twine Wrapped Table Numbers…

I can’t believe Thanksgiving is next week! Is it just me, or is the holiday season absolutely flying by this year? Well, before it turns from fall to winter, I have another awesome fall appropriate DIY for you from Smitten on Paper! These sweet twine wrapped table numbers would be great for a wedding any time of the year, but there is a rustic appeal about them that I think makes them especially perfect for fall.


Supplies:


Fresh Cut flowers

Twine/cording

Glue stick

Glue Gun

X-acto

Thick cardboard

Table number print out


Steps:


-Print out your desired table numbers, making sure they are the perfect desired size.


-Using a glue stick, lightly coat the back of the printed sheet and place over the cardboard. This is to ensure the sheet will not move when tracing and cutting over the cardboard. Then let dry.


-Using an X-acto, trace over the number, cutting through the cardboard.


-When your number is finally all cut out, peel back the sheet of paper.


-If your table number has any paper residue left over, not to worry, this will be covered up by twine and will not show through. So now, at the top, tie a knot. This will be your starting point when wrapping.


-Wrap, Wrap, Wrap!


-TADA. Your table number is now ready for beautification.


-Using a glue gun, carefully apply the flowers where you feel they are suited best. And done!


Smitten on Paper is currently offering 30% off all their holiday cards. I got mine from them this year and they are super cute, so don’t miss out on this great deal!