


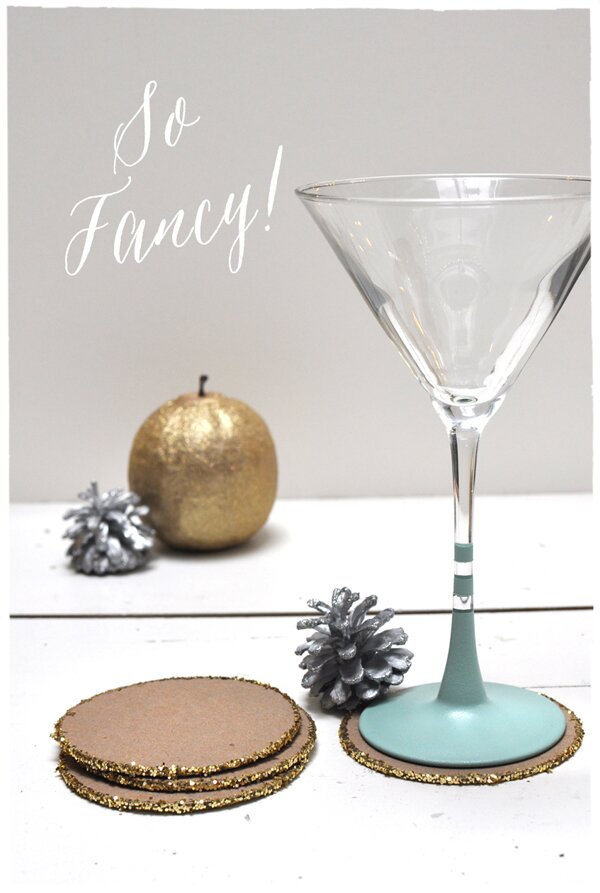
It’s a new year and I have a fun + festive new DIY from Smitten on Paper for you! These glitter edge coasters are quick and easy to whip up, and would be perfect for entertaining, favors, hostess gifts, or just to add a little sparkle around your own home!
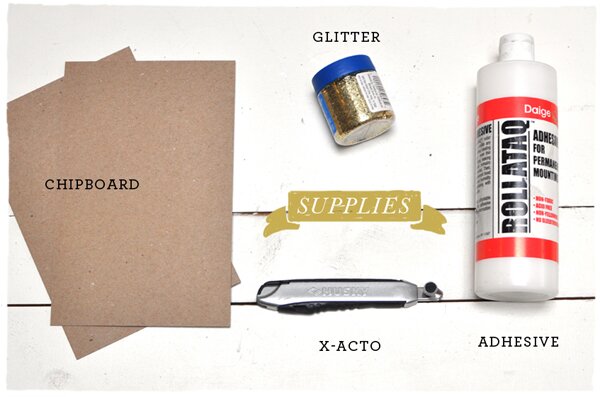
Supplies:
Chipboard
X-acto knife
Permanent Adhesive/glue
Glitter
Instructions:
1. Neatly draw and cut a 3 inch circle from the chipboard.
2. Repeat step-1 three times, until you have 3 (3 in) circles.
3. To one side of one circle, apply adhesive.
4. Take another circle and stick the two circles together. Let dry.
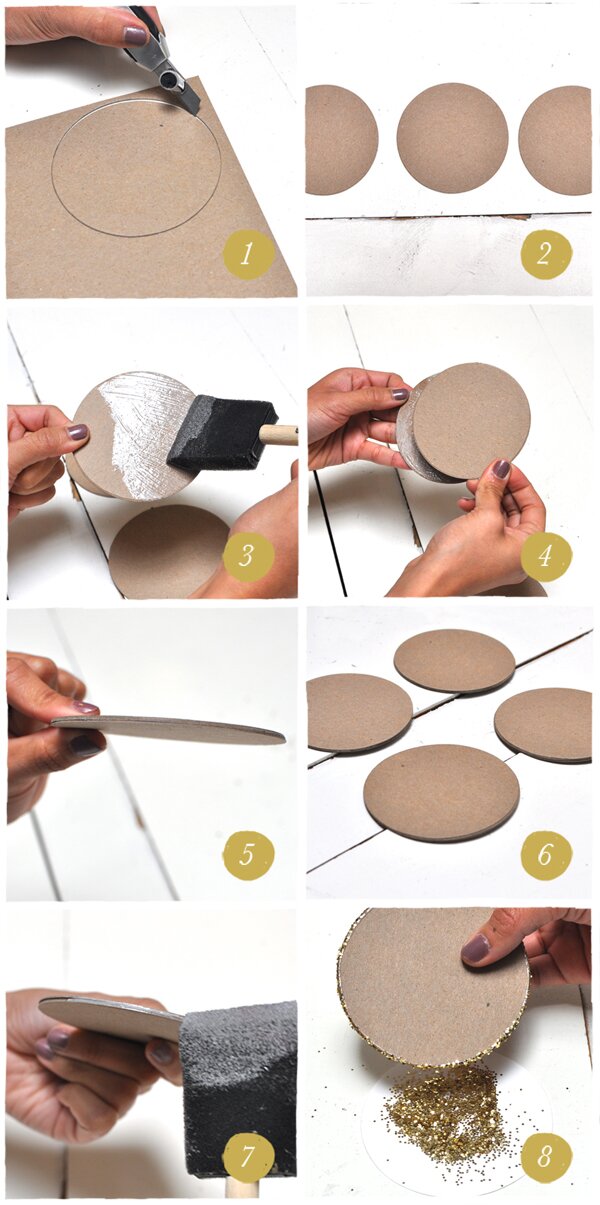
5. Repeat steps-3 through 4 until all three pieces of chipboard are stuck together, leaving you with a nice thick coaster!
6. Repeat steps 1-5 until you have 4 coasters or for as many coasters as you may like.
7. Once all your coasters are compact and dry, apply adhesive to the edge of all the coasters.
8. Now the glitter! Neatly roll the edge of your coaster into the glitter. Let dry overnight and you’re done. I decided to glitter my coaster edges, but if you wanted to fully cover your coaster, you most definitely can. Just apply adhesive to the whole top layer of your coaster and that’s it. Enjoy!
Just a little heads up- Smitten on Paper is currently offering 10% off all their save the dates with the code ENGAGED10! Woo hoo!
Related Posts


BACK TO TOP
1 COMMENT


Nice post, i hope everyone will like your post..
Awesome post, thanks for sharing this post..