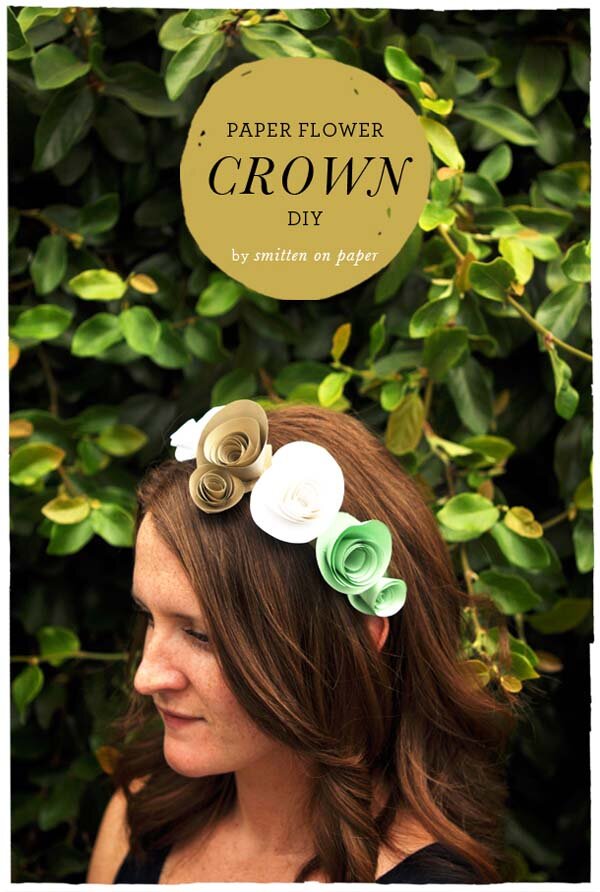

Happy Monday! I have another adorable DIY project from Smitten on Paper to share, and it’s perfect for this sunny Summer day.
This paper crown is so simple and can be made on the fly with things you probably already have laying around your house. I love the palette of kraft, mint and white they used, but you can use any color combination you prefer!
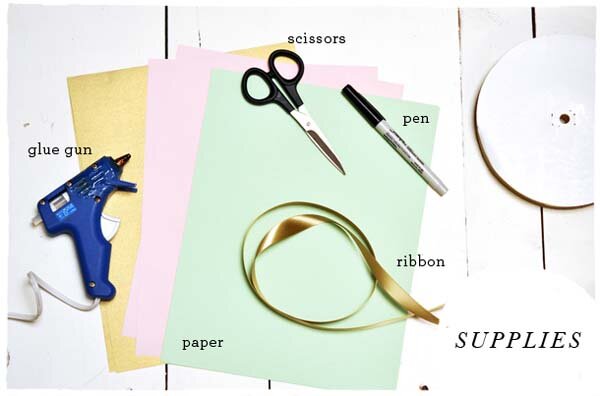
Supplies:
Paper, Scissors, Glue gun, Pen, Ribbon.
Directions:
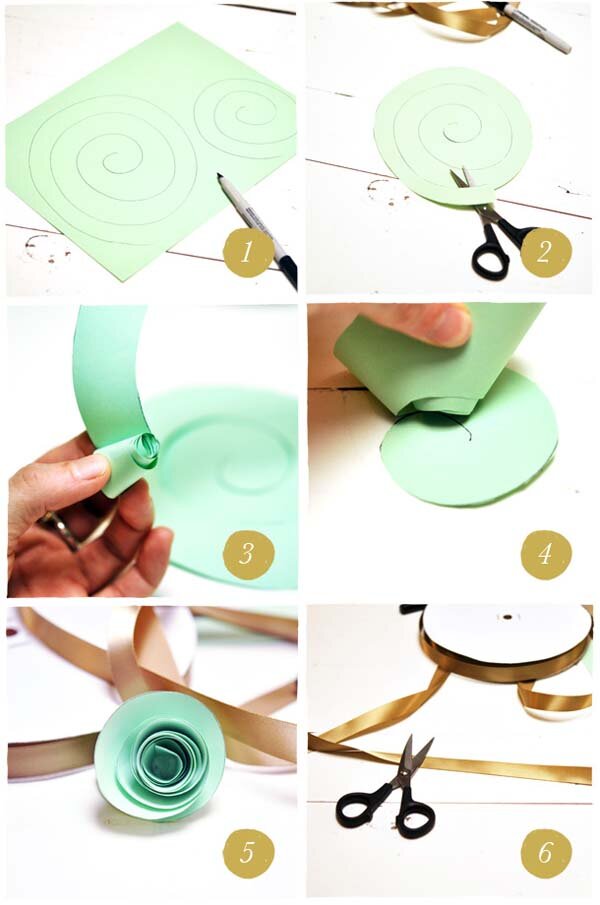
1. Draw a spiral on your paper.
2. Cut along the spiral line (it doesn’t have to be perfect or precise).
3. From the outer end, begin to roll the paper around itself until you get to the center.
4. Once you roll all the way to the center let the paper unroll slightly, settling on it’s own. Place a dot of hot glue onto the bottom center of the spiral and stick the rolled paper down.
5. Repeat with as many flowers as you would like on your crown.
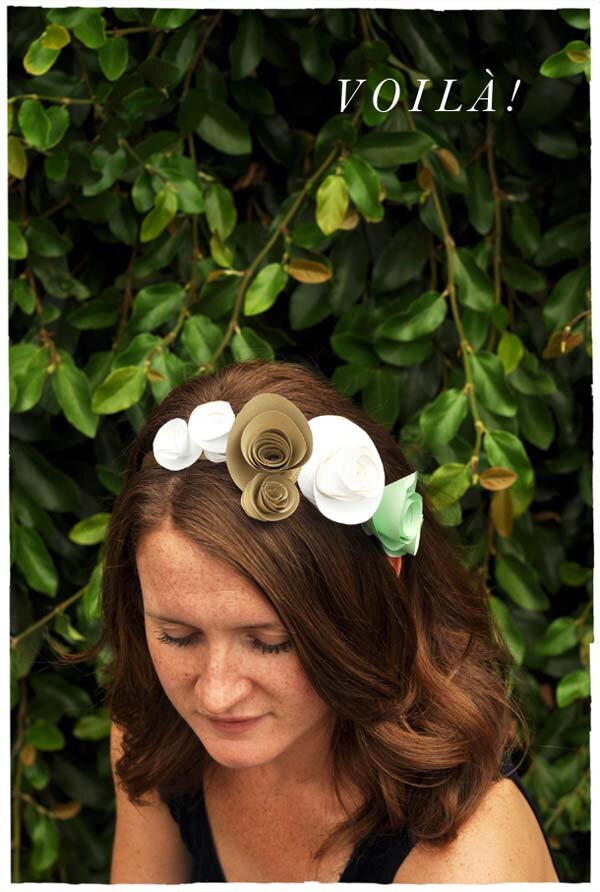
6. Cut a length of ribbon that will fit around your head with enough room to tie a bow. Glue your paper flowers onto the ribbon to complete your crown!
This easy and whimsical crown would be perfect for a bridal shower, bachelorette party or even just a fancy day! Enjoy!
Smitten on Paper is currently offering 15% off wedding invitations through July 31st with the code “SUMMER15″- don’t miss out!

Hope you all had a great Fourth of July weekend! We are back, and have Carla + Ricardo’s sweet Portuguese love shoot to share. Their photographer, Ricardo Silva, wanted this shoot to tell a story that celebrated Carla + Ricardo’s love. With a romantic and slightly quirky feel, I think he accomplished just that! Plus, I can never turn down a shoot that includes a cute pup:)
Vendors:
Photography: Tales of Light: Ricardo Silva Photography
Production + Styling: Hoje vou casar assim
Hair + Makeup: Hair and Makeup by Leila

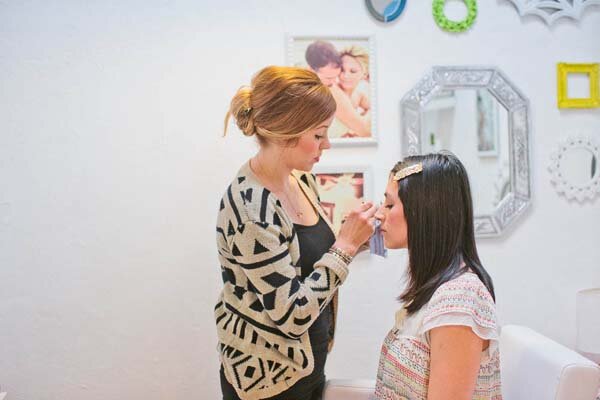
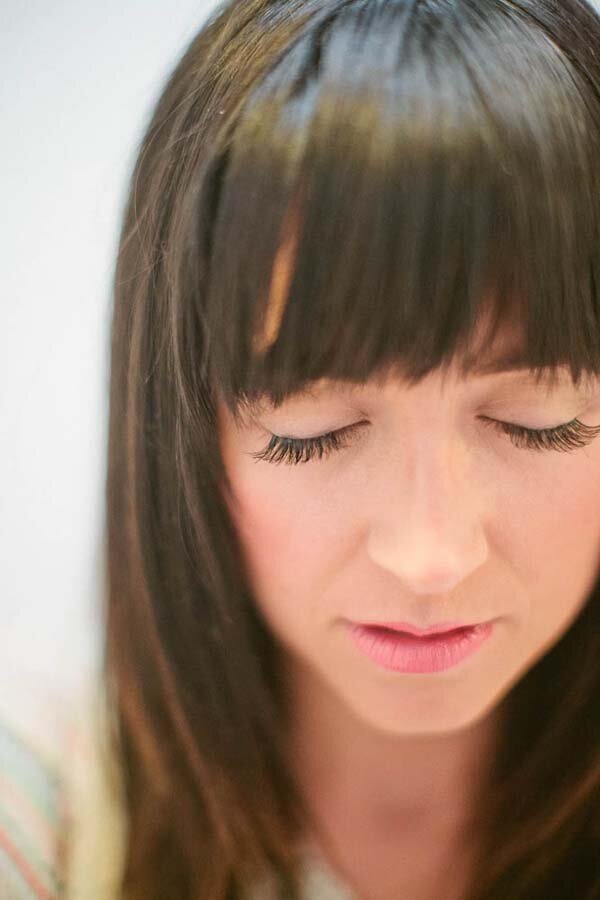
I love Cloud Parade, I love Nicole DeAnne (who has done my makeup on several occasions, including my own wedding!) and I LOVE this tutorial! False lashes are one of my favorite beauty tricks, but they can be challenging. This tutorial breaks down applying individual falsies step by step to help you avoid a big ‘ol sticky mess on your eyes. Ch, ch, check it out!
“The first hip online wedding marketplace, Your Cloud Parade, teamed up with the one and only Nicole Deanne Hair & Makeup Artist to bring you this DIY tutorial. Eyelashes have become a new staple for your “night time” makeup, wedding eyes, and really anything that has to do with the big day!”
What you need:
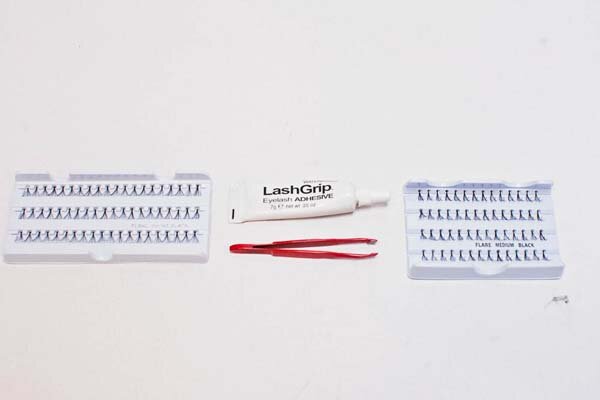
• One pack of small individual lashes
• And one pack of Medium Individual lashes
•• The Ardell brand is great for this application••
•Ardell Lash Grip eyelash adhesive ( Eyelash glue) We like the black color!
• And tweezers
What to do:
1. After make-up application, but before mascara application, apply your lashes.
2. You want to first look down, but tilt your head back so you can still see yourself in the mirror.
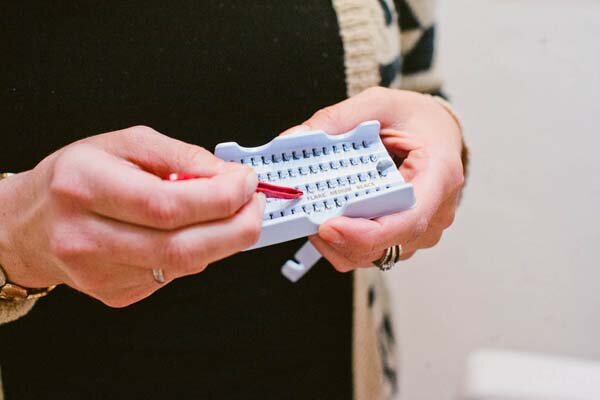
3. Use the medium eyelashes first, grab a cluster of lashes with your tweezers, then lightly dip lashes in the eyelash glue. (We like to have it on the back of our hand or on the container the lashes rest in.)
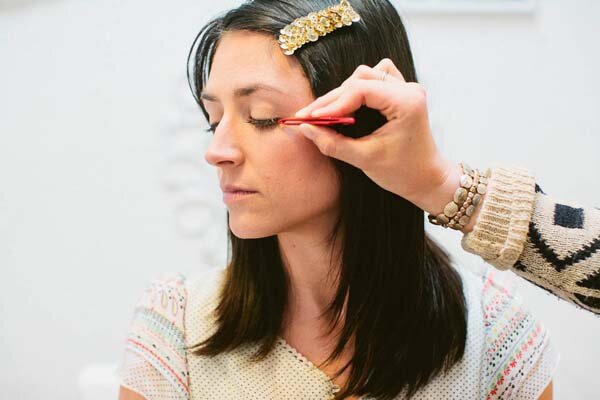
4. Then you want to lightly place each lash on the outside of your eyelid, & rest it right on top of your own lash line. We like to start with the medium size on the outside & towards the center of the eye use the small size lashes.
5. Apply all over your eye lid.
6. Let dry for 4-6 minutes. (Don’t look up or you will get the lash glue all over your eyelids & you will be sad)
7. Once dry, look up & apply mascara.
I thought I’d ask a couple questions about taking lashes off at the end of the night to wrap things up. Sometimes that can be as difficult as putting them on…
Q: How do you remove the lashes at the end of the night without pulling out or damaging your own lashes?
A: “Wash your face with warn water, gently pull on your lashed & the individual ones should come right off. Don’t pull too hard or you will yank out your actual lashes :)”
Q: Can you re use the lashes? If so, what’s the best way to keep them clean and in good condition once removing?
A: “You can reuse them if you do not apply mascara over them with your application. I don’t normally suggest to because they collect a lot of germs. Plus they are so cheap you can toss them after every use & apply new ones everytime. They look a lot better when they are not worn more than once!”
Now go get your lashes on, girl!!!
Credits:
Your Cloud Parade
&

Mike + Mary had a sweet St. Louis wedding filled with personal touches. No over the top details, but everything they chose was well thought out and held a lot of meaning for the couple. Mary wore her Grandma’s dress, which was re-worked a bit to give it a slightly more modern look. The reception at one of their favorite local wine bars showcased Mike’s love of unique beers. True dog lovers, the favors were for the guests four legged friends, and to cap the night off, an ice cream truck swung by so everyone could enjoy a sweet treat. Big thanks to Mike + Mary’s awesome photographers, Hawes Photography, for sending this wedding over!
Vendors:
Photography: Hawes Photography
Church: St. Vincent de Paul
Reception Venue: Visitor’s Center at Forest Park
Catering: Catering St Louis
Ice cream Truck: The Fire & Ice Cream Truck
Bride’s Dress: Vintage redesigned by R&M designs
Hair: Kink Salon

The lovely folks over at Smitten on Paper are back with their second DIY feature for The Loveliest Day- a darling hand-stitched burlap table topper! I am a complete novice when it comes to sewing, but even I could do this. So simple and the result is totally adorable!
Supplies:
Burlap, yarn, silk ribbon in varying sizes, large gauge needle + scissors.
Instructions:
1. Plan out your design and then draw it onto your burlap with a sharpie. It does not need to be perfect, the sharpie will be covered up with your stitching.
2. Thread your needle with the yarn and use a running stitch to complete the basic part of your design.
3-6. To make your flowers, thread your need with the silk ribbon and then make 3-4 stitches in a starburst pattern, depending on how large you want your flower. Tie the ribbon off on the back of the burlap and cut the excess ribbon.
7. To make sure that your petals are nice a pretty the ribbon needs to be flat, not twisted. Place your finger under the ribbon as you are pulling the it through.
8. Repeat with as many colors and sizes of ribbons as you would like!
We used this stitched burlap as table topper or runner, but it would also be adorable as a hanging flag or banner.
Big huge thanks to Smitten on Paper for creating another awesome DIY for us!!! Make sure to check out their website, facebook, + to see more of their amazingness:)

First of all, I can’t believe it’s already June!!! Where did Spring go? Time is really flying by this year, flying by so quickly that it seems nuts that this wedding I’m going to share with you today took place almost a year ago!
I worked with Jenna + Eric on designing their wedding from the very beginning of the process, soon after they were engaged. They only had several months to plan their wedding, and Jenna wanted tons of detail, so there was a lot to get done in a short time. Luckily, Jenna and her Mom are very crafty and were able to bust out tons of the handmade details we came up with very quickly. The venue was The Stonehouse at the beautiful Temecula Creek Inn, which was the perfect setting for the rustic feel Jenna had dreamed of. There was lots of burlap, lace + mason jars, with pops of turquoise and orange.
There was a freak thunderstorm mid set-up on the day of. That paired with 100 + degree temps made for a bit of a stressful moment for everyone, but luckily the rain and thunder died down just in time, and the wedding went off without a hitch! It was a pleasure working with Jenna + Eric, and I’m excited to share their big day with you:)
Below are a few photos I snapped on my iPhone during set-up…
Lastly, here is Jenna + Eric’s wedding video if you want to see a bit more…
from on .
Vendors:
Photographer: Brightwood Photography
Design + Styling: Melissa Elise Event Design + Styling
Venue + Caterer: Temecula Creek Inn
Hair + Makeup: Bethany Ruck
Cake: Le Petit Kupkak
Cinematography: WickFilms
DJ: Brian Stodart
Bride’s Dress: David’s Bridal
Flowers: Enchanting Blooms
Bride’s Boots: Ariat
Stationery: Sea of Love Studios
Bridal Party Favors: Mason Jar Cookie Company
Cake Topper: April Hiler Designs
Bridesmaid Dresses: Macys


